
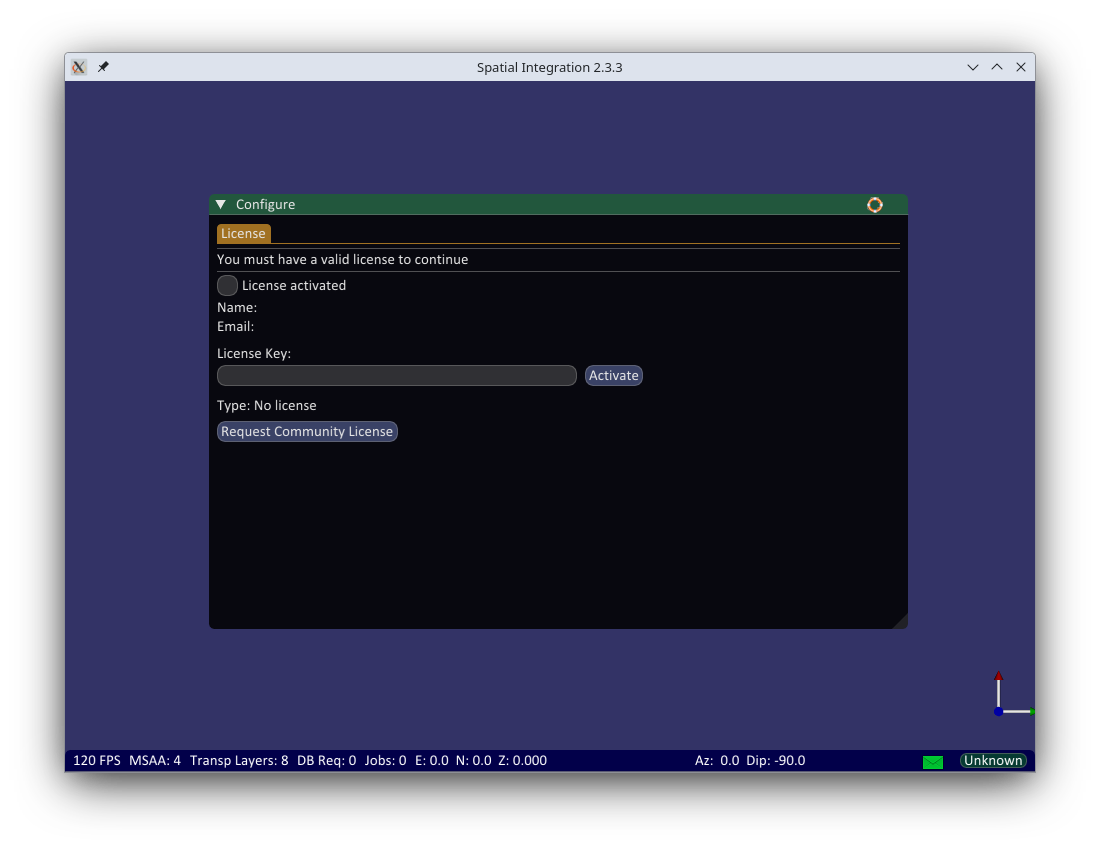
The first time you run Spatial Integration after installing, you will see the License screen as below. You must have a license to use Spatial Integration, even if using the Community Edition.
You can request a Community Edition license directly from the License Settings dialog in Spatial Integration. Simply click the Request Community License button, enter your name name and email address, then click Send Request. Within a few minutes you will receive an email with your license key.
To request a Professional license, please contact us at licensing@fourwindstechnology.com. A Community Edition license can be upgraded to Professional quickly and easily.
Enter the license key that you received after requesting your license into the box (note that you can use CTRL V to paste it from the clipboard) and click the Activate button. Check that the details of your license are correct, then click Save and close the Settings window.
Your activation key will look similar to this: BA52E0-E5D59E-22A33B-FBCADE-8C271C-V3
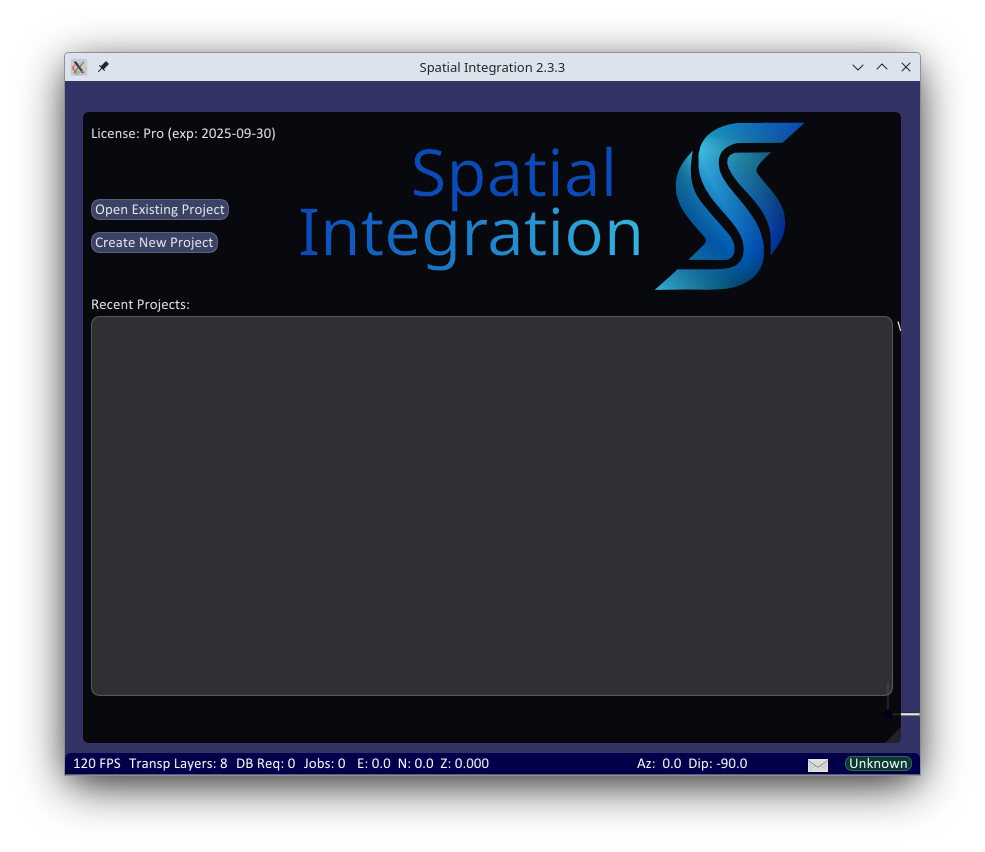
You will then go to the Welcome screen that is normally displayed when you start Spatial Integration.
Your recent projects will be shown in the list box and you can open one by simply clicking on the list entry. If this is your first time running Spatial Integration you will need to open an existing project or create a new project using the appropriate buttons. If you just want to see Spatial Integration in action, you can download example projects to get started.
You are now ready to add some data!
A good place to start is with an elevation surface. Hover over the Surface icon from the left flyout and click New Elevation Surface…. This opens the Surface dialog. Add one or more elevation grids to the Height Sources by clicking the Add Height Source button. Choose your grid and click OK. Remember, the grid must contain raw elevation values, not be an image of elevation. If this is the first data in your project and the elevation grid has a valid Coordinate Reference System (CRS) then the viewer will be set to that CRS. You can change it later if you want.
You can add several height sources, just ensure that the most detailed one is at the top of the list. You can drag and drop within the list to re-order them. Don’t worry if they use different CRS, Spatial Integration can handle it. If your elevation grids are large, Spatial Integration will take a few moments to generate overviews. These are compatiable with other software such as QGIS, so it only has to be done once.
You can now select the Image Sources tab and load some image overlays. The order is not as important unless you intend you blend them with transparency. As with elevation grids, Spatial Integration will handle different CRS and very large images.
If you intend to show any of the elevation surface without an overlay, then you might want to apply an elevation-based colour. To do this you go to the Symbology tab. You can change the single colour by clicking on the grey square and selecting a new one, or click the Continuous radio button, then click the orange button on the right to set a linear transform from data limits. You can then move the transform anchor points around with the mouse, and a new anchor point by double clicking, or delete an anchor point by right clicking on it.
See the Surface help page for more information.